You might not know this yet, but .pdf files can be geospatial, meaning you can open them in software like QGIS, Avenza, and use them to navigate in the field, mark points, and more. So, if you’re into geospatial analysis and use this type of data every day, working with a GeoPDF can be super helpful.
How to Create a GeoPDF File
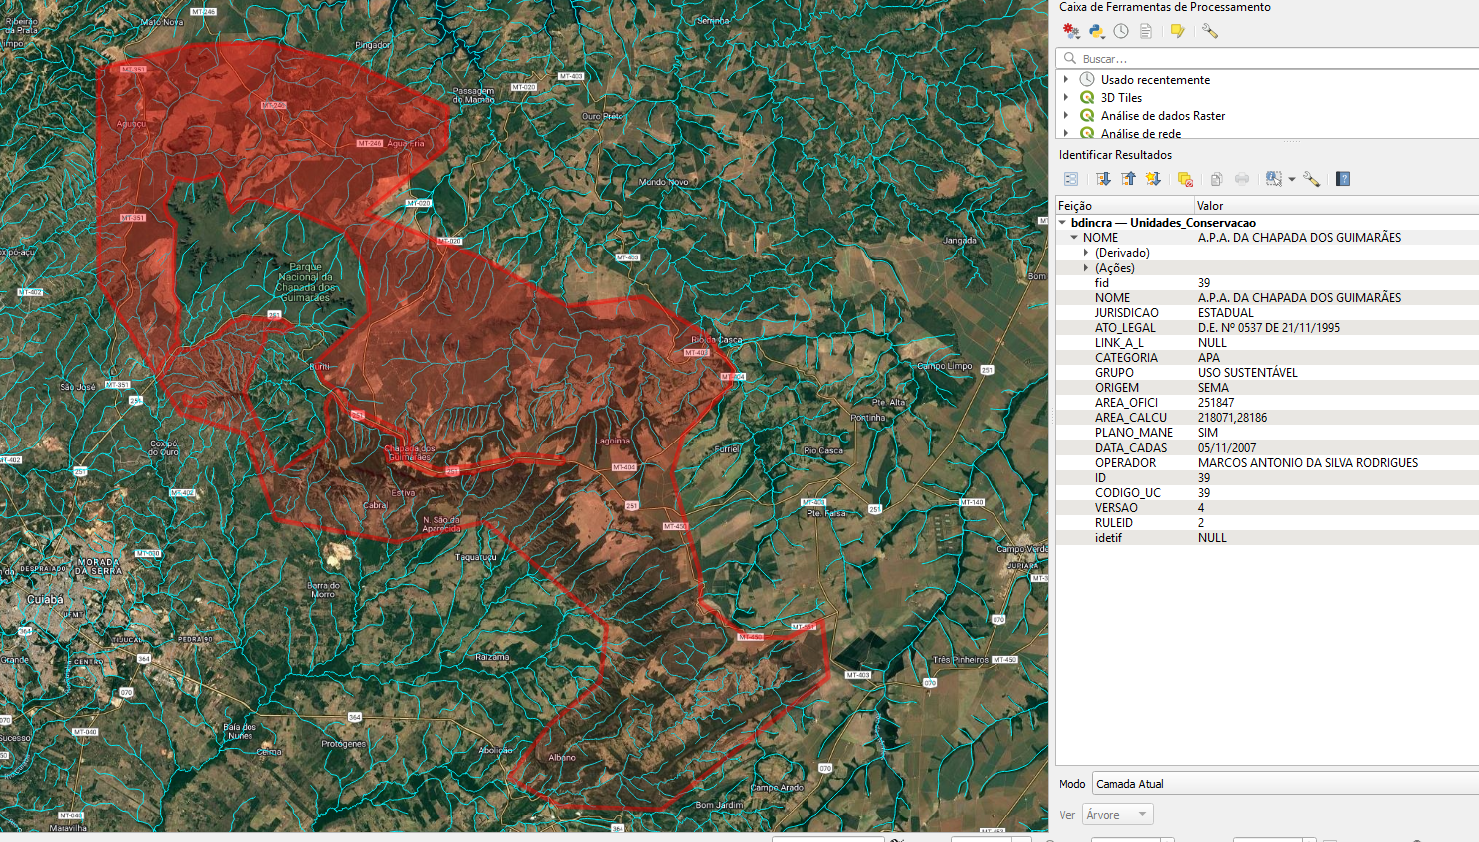
For example, let’s say I’m working with some spatial info for a specific place—in this case, the Chapada dos Guimarães. I have some established base layers, like the state’s hydrography (rivers/water) and Conservation Units.
I also want to create a few new features, like points and polygons, for other places I’m interested in. To do this, I need to create vector data layers.
Go to New Layer –> New GeoPackage Layer
With a GeoPackage, you can create multiple types of geometry in one single “package,” which is much more efficient than making a bunch of separate shapefiles.
Here, you’ll select the geometry type and CRS for the new layer, then save it as a new file.
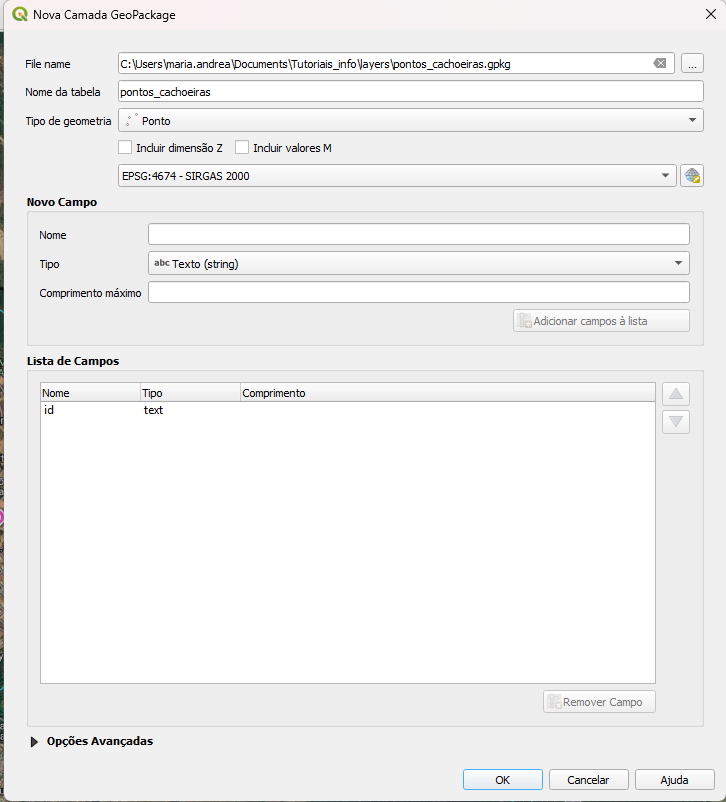
I created the first GeoPackage layer, called pontos_cachoeiras (waterfall points), because I want to mark some of the waterfalls on the map.
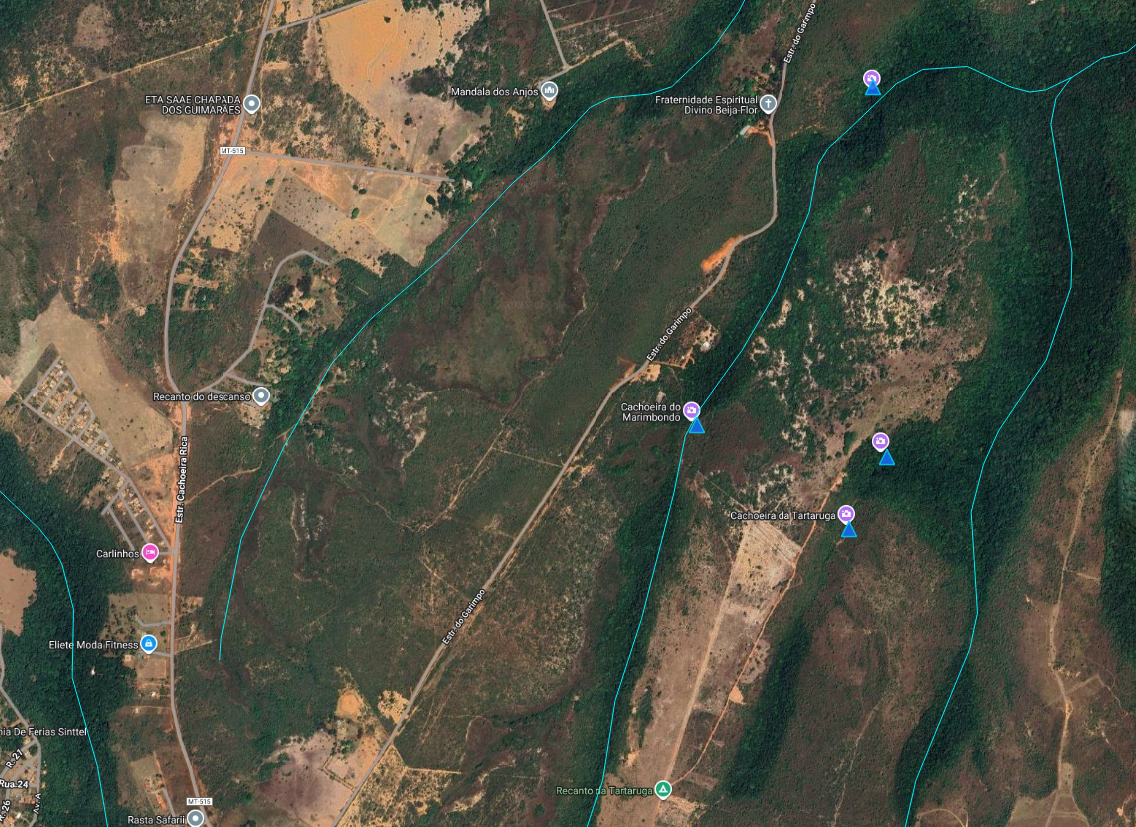
To actually create the points, you need to Toggle Editing. You do this by right-clicking the layer and then selecting the Add Point option from the menu, which only becomes available once editing is active. I created the points, saved the edits, closed the editing mode, and adjusted the styling.
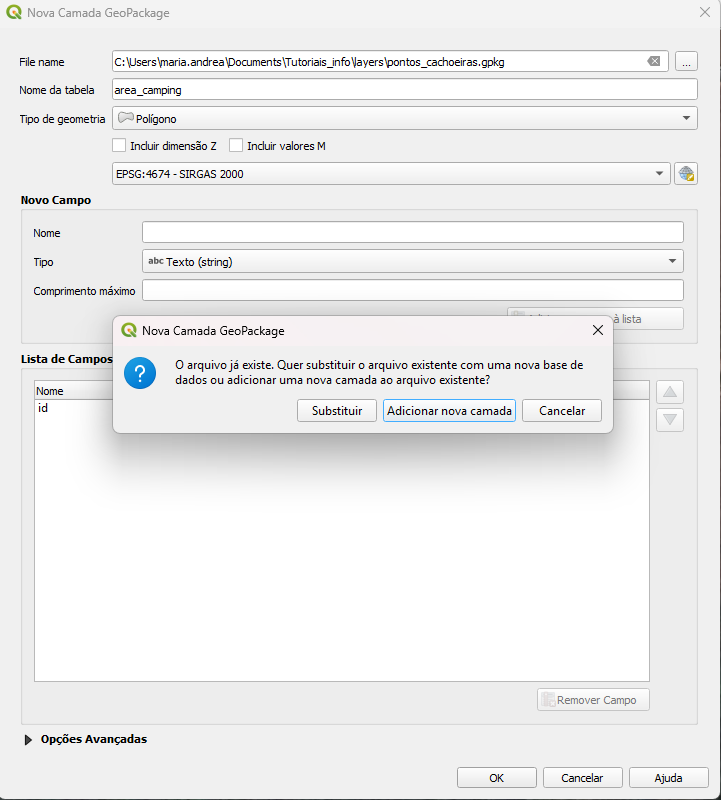
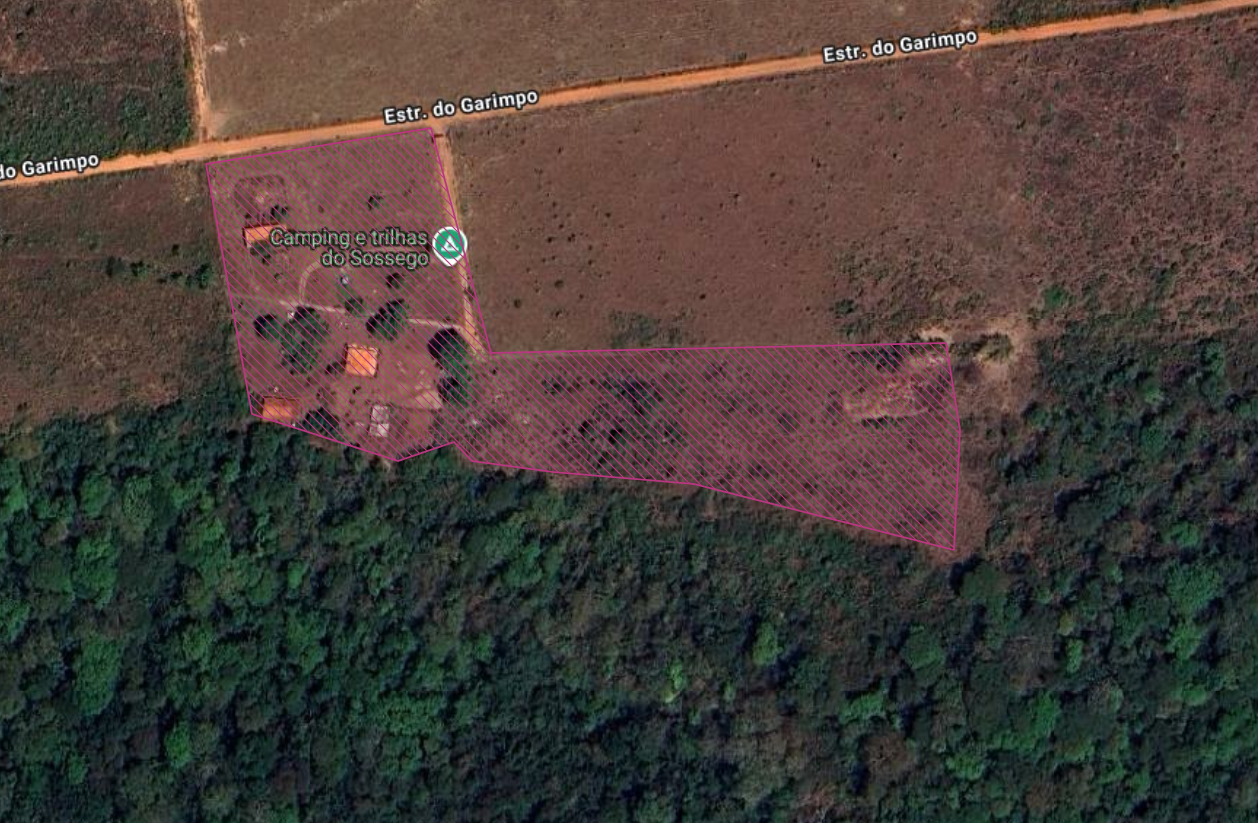
I also want to add more information to my GeoPackage, but this time, polygons to show a camping area near the waterfalls.
You can start the New GeoPackage Layer process again, but select the one you already created (in this example, I probably should have used a more generic name for the GeoPackage file, and kept the specific names like pontos_cachoeiras and área_camping just for the tables). Don’t forget to select Add New Layer to Existing GeoPackage.
Just like before, you Toggle Editing for the layer, and in the top menu, choose to Add Polygon.
I made a polygon (I don’t actually know if this is a real camping area, it’s just an example!), saved the edits, finished editing, and changed the styling.
After all that, I want to share this map so other people can use it. Some of them might not be familiar with QGIS, for example, but they can still use it in the field to navigate and mark other points of interest.
There are two ways (that I know of) to export the map as a GeoPDF:
1. Export the GeoPDF directly from the QGIS canvas you are working on.
First, you need to make sure the features you want are visible on the map canvas.
Project –> Import/Export –> Export Map to PDF
A box of options will pop up, which determines whether you will (or won’t) export a GeoPDF file. It is very important that you check the box for “Create Geospatial PDF”.
You’ll probably want to change the resolution too—you can test out what looks best for your use.

2. Create a print layout using the Layout Manager, including things like a North arrow, legend, scale bar, etc., and then export the GeoPDF from there.
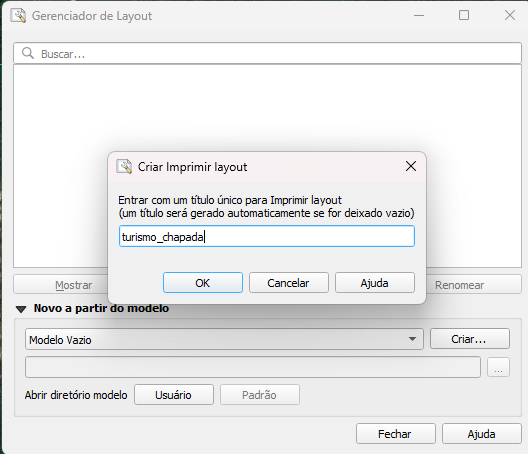
Project –> Layout Manager –> Create
Here, you name your layout map and start building it based on what you have on the main QGIS page.
Creating a layout is a whole context in itself that you can get really detailed with, but here I’ll just treat it as another step without going into much detail. You basically add the map, the legend, the North arrow, and the scale bar.
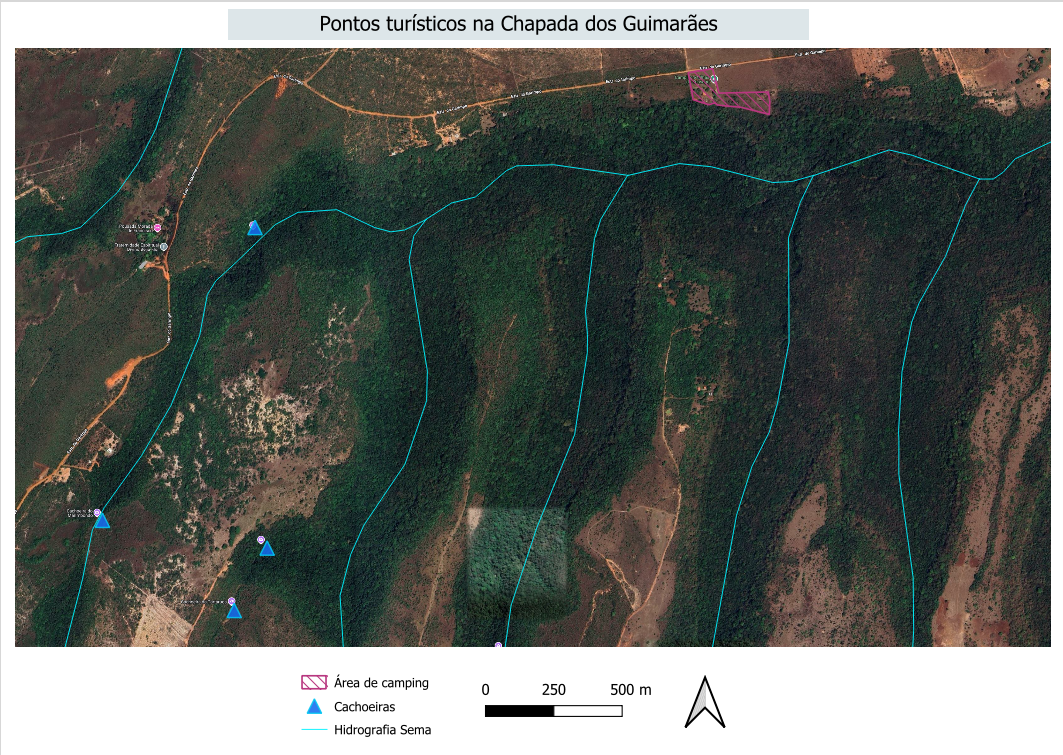
Once the map is ready: Layout –> Export as PDF
You’ll get the same selection box again to make sure the file will be a GeoPDF.
In both cases, you’ll end up with very similar files, so you can choose whichever way works best for you.
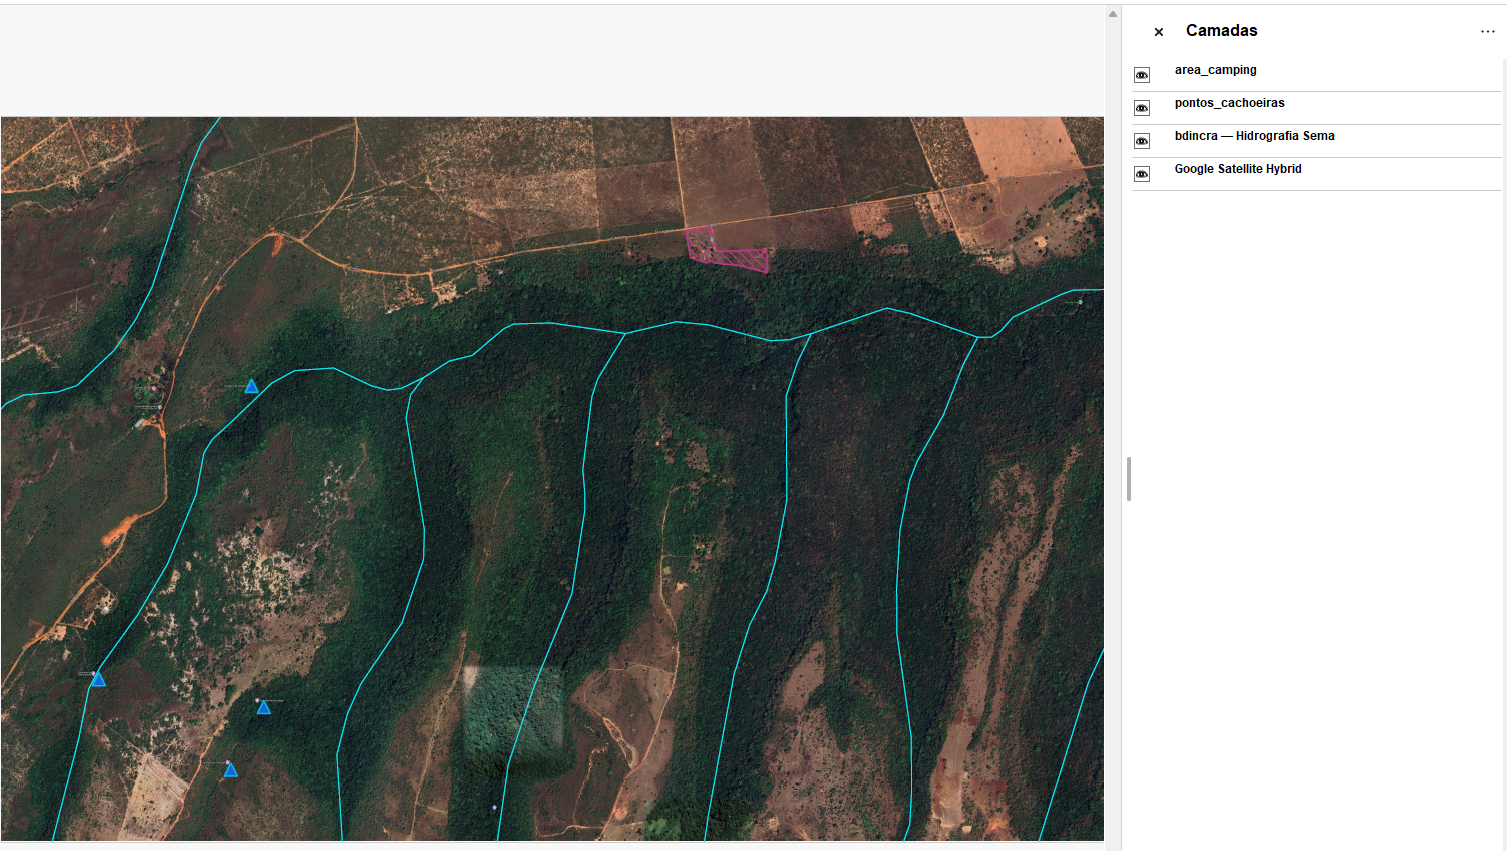
With either file, when you open it in something like Adobe, you can identify the data layers and “turn them off,” just like you would in QGIS.
This GeoPDF can now also be imported into Avenza and used to navigate and mark new points of interest when you are out in the field, even for people who aren’t familiar with QGIS.